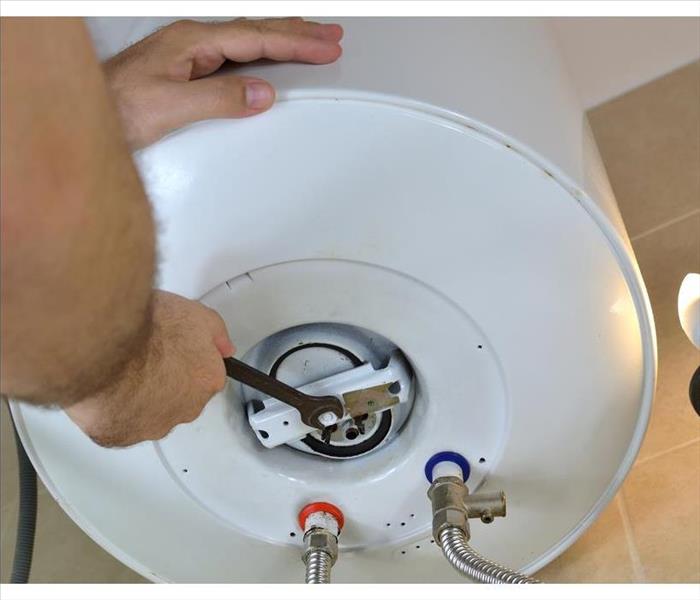
How To Flush Your Water Heater Properly
2/20/2020 (Permalink)
You may not spend much time thinking about your water heater. When there's a problem, however, you realize how much you depend on it. Wise homeowners know some important maintenance tips to prolong the life of this appliance. A simple flush of this unit can help it work more efficiently and avoid troubling issues such as leaks.
Why Do a Flush?
If you ignore your water heater, you're not alone. Many Red Rock, GA, residents don't know how to flush the unit or simply put it off. This task is critical, however, to the appliance's health. Here's why:
- A flush will remove the sediment deposits from the bottom of the heater.
- The sediment can cause the unit to rust, suffer or damage or fail entirely.
A flush will keep the unit running correctly longer.
Drain the Water
When you're ready to start the water heater flush, turn off the gas to the appliance and open the pressure relief valve. Next, attach a garden hose to the drain valve and open the drain. Make sure you have a large bucket at the other end of the hose. Or, you can direct into a drain in the ground. You should drain the tank until the water is clear. Some heaters may have excessive sediment, so you may have to drain it entirely.
Clean the Tank
Once you have drained the water, flush it with more water. You can do this by opening the cold water spigot leading to the hot water tank. Do this for a few minutes, and you should see clear water. Then, close the drainage valve and open the pressure valve. Remove the hose, and you should have a more efficient heater. After 20 to 30 minutes, the water should start to heat up, and you can resume cooking and bathing comfortably.
Before you have to call a flood cleanup company to rescue you from water damage, flush your water heater. This task can save you a lot of grief down the road.


 24/7 Emergency Service
